

How to translate text from an image
Choose the source language, then the target language. Arabic is the initial target. Adjust the image selection and use Enhance image when necessary.
Read the guideTHE I2IMG BLOG
A home for practical image walkthroughs, useful tips, and clear examples.
Choose the source language, then the target language. Arabic is the initial target. Adjust the image selection and use Enhance image when necessary.
Read the guideAdjust the crop before processing, or keep the full image. Choose 1X, 2X or 4X output.
Read the guideKeep the important content inside the crop frame and choose 1X, 2X or 4X output. Use 1X when you want to review restoration without requesting a larger pixel grid.
Read the guideFrame the region to colorize and choose Natural colors, Vivid colors or Balanced colors.
Read the guideAdjust the brush size and paint over the object you want removed. Include its relevant edge or shadow if that also needs to disappear.
Read the guideFrame the useful region and choose General subject or Person.
Read the guideUpload a portrait and use the subject and framing controls to isolate the person.
Read the guideSelect Short caption, Detailed description or Image generation prompt.
Read the guideEnter a prompt describing the subject, setting and the most important visual detail. The Cute cat and Sharp-looking car examples can provide a starting point.
Read the guideEnter a prompt describing the subject, setting and the most important visual detail. The Cute cat and Sharp-looking car examples can provide a starting point.
Read the guideOpen the editor and use the relevant crop, transform or adjustment controls to establish the image.
Read the guideOpen the text or image layer controls and add a name, logo or label. Position it where it remains readable without obscuring the main subject.
Read the guideAdd a text layer, enter your wording and adjust the font, size, color and position. Keep it inside the visible image boundaries.
Read the guideUpload the picture and, for a multi-frame source, select the frame or page you want to edit.
Read the guideSelect a style from the gallery, or set the shadow and highlight colors yourself.
Read the guideEnter one-based frame numbers in Frames. Use a single number for one still, a range such as 1-3, or a list such as 1, 4, 7.
Read the guideAdjust the crop frame if you want to split only part of the picture. Choose Rows and Columns, each from 1 to 6.
Read the guideUpload the image, choose the language and adjust the selection frame. Use Enhance image if contrast, background or rotation makes the words hard to read.
Read the guideUse Manual to set the angle yourself, or Automatic to start with the detected alignment.
Read the guidePaste an http:// or https:// address in the upload-style form and select Continue.
Read the guideUse the original image when possible so its available camera and location fields have not already been removed by another app.
Read the guideUpload the image whose embedded metadata you want to remove.
Read the guidePaste a complete link or the text you want the code to contain into the tool-page form, then select Continue.
Read the guideChoose PNG or JPG, fit your photos to a useful size and decide which metadata to keep. This tutorial converts a real HEIC file to an 800-pixel PNG and explains what changes.
Read the guideConvert a HEIC photo to PNG while keeping its decoded dimensions. See a real comparison and why lossless output does not restore lost detail or guarantee a smaller file.
Read the guidePrepare a compatible JPG by balancing dimensions and quality. This example uses quality 80, a 640-pixel fit and 300 DPI metadata, with the actual saved file measured.
Read the guideStart with clean raster artwork, choose a preset and compare the vector preview. This guide turns an original flower illustration into an SVG with 14 real paths.
Read the guideTrace a transparent illustration, then simplify it deliberately with color and detail controls. Follow a real four-color example with seven vector paths.
Read the guideUse Line art and threshold to turn suitable JPG artwork into a monochrome vector. See both the useful outline and the light details that disappear.
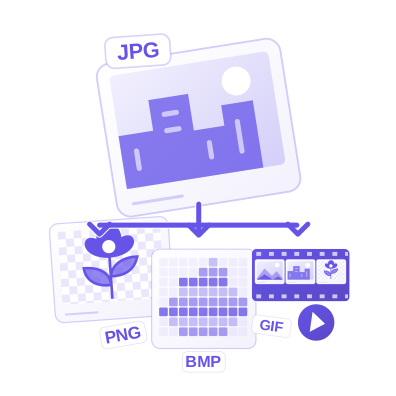
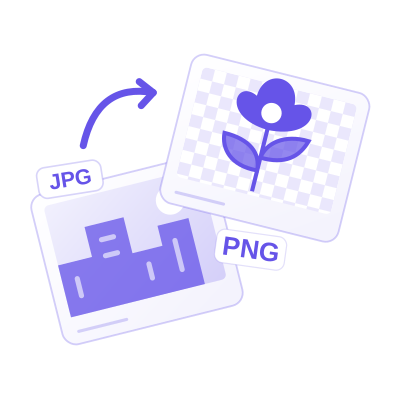
Read the guideUpload your source images and check File format before processing. PNG stores the decoded pixels without JPEG-style compression loss. Converting a JPG to PNG does not recover detail already lost in the JPG, and the file can become larger.
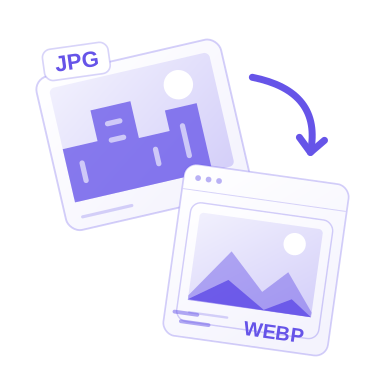
Read the guideUpload JPG images and check File format before processing. WebP is useful for web delivery and can represent transparency. Check that your receiving app accepts it before replacing a broadly compatible JPG.
Read the guideUpload JPG images and check File format before processing. PNG stores the decoded pixels without JPEG-style compression loss. Converting a JPG to PNG does not recover detail already lost in the JPG, and the file can become larger.
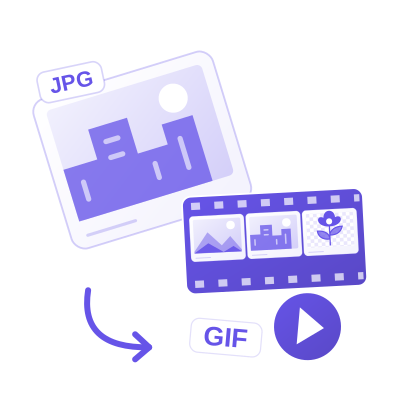
Read the guideUpload JPG images and check File format before processing. GIF uses a limited color palette. A JPG converted to GIF becomes a still image; photographs can show banding or reduced color detail.
Read the guideUpload JPG images and check File format before processing. BMP is widely readable in desktop graphics software but can produce a large file. Choose it for compatibility, not as a file-size optimization.
Read the guideUpload JPG images and check File format before processing. JPG and JPEG are extensions for the same image format family. This tool re-encodes the picture; it is not a lossless filename-only change.
Read the guideUpload your source images and check File format before processing. JPG is a practical photographic format without transparency. Transparent areas need a solid background, and a multi-frame source becomes a still image.
Read the guideUpload WEBP images and check File format before processing. JPG is a practical photographic format without transparency. Transparent areas need a solid background, and a multi-frame source becomes a still image.
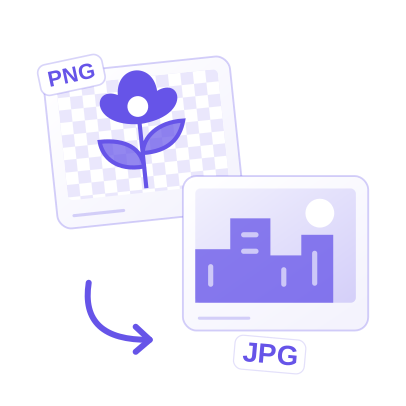
Read the guideUpload PNG images and check File format before processing. JPG is a practical photographic format without transparency. Transparent areas need a solid background, and a multi-frame source becomes a still image.
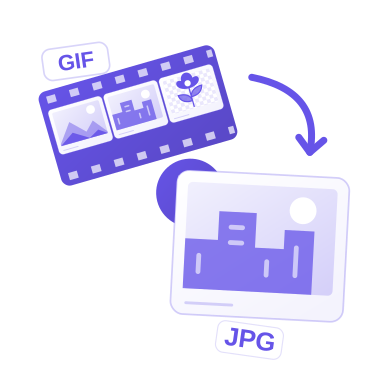
Read the guideUpload GIF images and check File format before processing. JPG is a practical photographic format without transparency. Transparent areas need a solid background, and a multi-frame source becomes a still image.
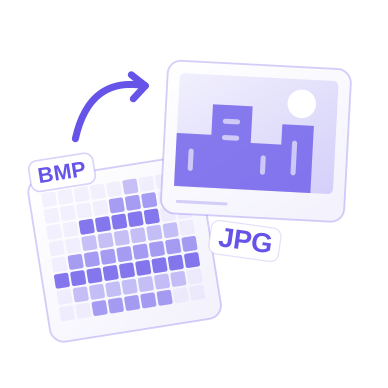
Read the guideUpload BMP images and check File format before processing. JPG is a practical photographic format without transparency. Transparent areas need a solid background, and a multi-frame source becomes a still image.
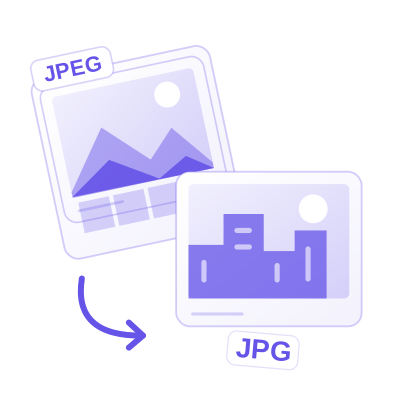
Read the guideUpload JPEG images and check File format before processing. JPG is a practical photographic format without transparency. Transparent areas need a solid background, and a multi-frame source becomes a still image.
Read the guideUse Left or Right for a quarter-turn, or enter Angle for a more specific rotation. Check the image after each change.
Read the guideEnable Flip horizontally for a left-to-right mirror, or Flip vertically for an upside-down reflection.
Read the guideMove Image quality while watching the active image preview and size estimate. Start with a moderate reduction, then inspect fine edges, lettering and flat color areas.
Read the guideMove Image quality while watching the active image preview and size estimate. Start with a moderate reduction, then inspect fine edges, lettering and flat color areas.
Read the guideMove Image quality while watching the active image preview and size estimate. Start with a moderate reduction, then inspect fine edges, lettering and flat color areas.
Read the guideMove Image quality while watching the active image preview and size estimate. Start with a moderate reduction, then inspect fine edges, lettering and flat color areas.
Read the guideMove Image quality while watching the active image preview and size estimate. Start with a moderate reduction, then inspect fine edges, lettering and flat color areas.
Read the guideMove Maximum file size to the largest value accepted by your destination. The keyboard changes the target in 1 KB steps; 1 KB here is 1,024 bytes.
Read the guideSelect Pixels when a form or website specifies exact dimensions. Enter Width and Height; keep the aspect ratio linked to avoid stretching. Choose Percentage for a proportional reduction.
Read the guideSelect Pixels when a form or website specifies exact dimensions. Enter Width and Height; keep the aspect ratio linked to avoid stretching. Choose Percentage for a proportional reduction.
Read the guideSelect Pixels when a form or website specifies exact dimensions. Enter Width and Height; keep the aspect ratio linked to avoid stretching. Choose Percentage for a proportional reduction.
Read the guideSelect Pixels when a form or website specifies exact dimensions. Enter Width and Height; keep the aspect ratio linked to avoid stretching. Choose Percentage for a proportional reduction.
Read the guideDrag the crop frame's edge or corner handles. Drag inside the frame to move the selection without changing its size.
Read the guideMove and resize the circular selection so the subject fits comfortably inside it.
Read the guideDrag the crop frame's edge or corner handles. Drag inside the frame to move the selection without changing its size.
Read the guideDrag the crop frame's edge or corner handles. Drag inside the frame to move the selection without changing its size.
Read the guideDrag the crop frame's edge or corner handles. Drag inside the frame to move the selection without changing its size.
Read the guideUpload the PDF, select pages in the preview or enter a page range, and check their orientation.
Read the guideUpload the PDF, select pages in the preview or enter a page range, and check their orientation.
Read the guideUpload the PDF, select pages in the preview or enter a page range, and check their orientation.
Read the guideUpload the PDF, select pages in the preview or enter a page range, and check their orientation.
Read the guideUpload the PDF, select pages in the preview or enter a page range, and check their orientation.
Read the guideUpload the PDF, select pages in the preview or enter a page range, and check their orientation.
Read the guideUpload the PDF, select pages in the preview or enter a page range, and check their orientation.
Read the guideUpload the PDF, select pages in the preview or enter a page range, and check their orientation.
Read the guideUpload the PDF, select pages in the preview or enter a page range, and check their orientation.
Read the guideUpload the PDF, select pages in the preview or enter a page range, and check their orientation.
Read the guideAdd the source images and arrange their cards in the order you want the PDF pages.
Read the guideAdd the source images and arrange their cards in the order you want the PDF pages.
Read the guideAdd the source images and arrange their cards in the order you want the PDF pages.
Read the guideAdd the source images and arrange their cards in the order you want the PDF pages.
Read the guideAdd the source images and arrange their cards in the order you want the PDF pages.
Read the guideAdd the source images and arrange their cards in the order you want the PDF pages.
Read the guideAdd the source images and arrange their cards in the order you want the PDF pages.
Read the guideAdd the source images and arrange their cards in the order you want the PDF pages.
Read the guideAdd the source images and arrange their cards in the order you want the PDF pages.
Read the guideAdd the source images and arrange their cards in the order you want the PDF pages.
Read the guideAdd the source images and arrange their cards in the order you want the PDF pages.
Read the guideUse the PDF page previews or range controls to choose where to look for embedded images.
Read the guideUpload the PDF, select pages in the preview or enter a page range, and check their orientation.
Read the guideBuild a balanced three-photo collage with a large lead image, consistent spacing and rounded corners. Follow the actual settings and inspect the downloaded 2000-pixel PNG.
Read the guideTurn a botanical photo into a six-color starting palette, then learn when to pick a precise pixel, lock a swatch, check contrast and export reusable values.
Read the guideBuild a four-image GIF with soft fades and a first-frame caption. Learn how timing, canvas fit, transparency and transition frames affect the finished animation.
Read the guideTurn a two-second video selection into a one-second GIF. Learn how trimming, FPS, playback speed and color settings affect the finished loop.
Read the guideTo create a favicon, open Favicon / ICO Generator and upload a logo or choose Text. Review the browser previews, adjust the shape and spacing, choose Multi-size ICO or Website icon package, then select Start and Download. This tutorial uses a real transparent logo and checks the files inside the finished package.
Read the guideChoose a complete design, then refine the background, browser frame and spacing in a live preview. Use a social canvas or custom dimensions and select Start to export a PNG, JPG or WebP.
Read the guideStart with your photo, Robot reaction or Two moods. Choose a layout, type directly on the image and use compact floating controls to style each caption. Select Start to create a PNG, JPG or WebP.
Read the guideChoose the passport-issuing country and application type in Passport & ID Photo Maker. Printed photo mode lets you position a portrait and create a single photo or printable sheet with embedded DPI. Online mode keeps the original file unchanged and checks supported file requirements. This worked example makes six 2-inch square photos on a 4 × 6 inch sheet at 300 DPI; it demonstrates printed sizing and layout, not official passport approval.
Read the guideOpen Blur, Pixelate & Redact Image, draw a region over the detail and choose its effect. Use Opaque redact when the information must be removed from the shared picture, then export a flattened image. This example covers a fictional email address in a sample message.
Read the guideDraw on a blank pad, type a name, or import a photo of a signature on light paper. Select the signature to move, resize or rotate it, then trim spare space and download a reusable image.
Read the guideChoose an image, select Data URL, Plain Base64, HTML image or CSS background, and copy the code or download it as text. This guide follows an original PNG through an HTML image export.
Read the guidePaste the encoded data into Base64 to Image, select Continue, check the picture and download it in its original format. This example decodes the sample PNG without resizing or recompressing it.
Read the guideReduce an image to a small grid, choose its colors and preview a retro treatment. Select a whole-number output scale, then create a PNG or an SVG made from colored pixel cells.
Read the guideTo convert a photo to AVIF, upload it in AVIF Converter, choose AVIF, set quality and select Start. To convert an AVIF into a more familiar file, choose JPG, PNG or WebP instead. This guide converts a real JPG sample to AVIF at quality 65 and reports the measured output.
Read the guideTo compress an SVG, upload the file or paste its markup, compare the sanitized original with the optimized version, adjust precision and select Start. This guide uses a real orbit icon and checks both the exported vector and its byte reduction.
Read the guideUse Compare Images to inspect a before-and-after pair with Swipe, Side by side, Overlay or a Difference heatmap. Align the second image, inspect both with synchronized zoom and export the view you need. This example compares two owned design revisions with exact pixel statistics.
Read the guide