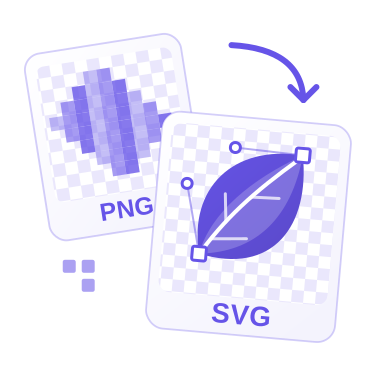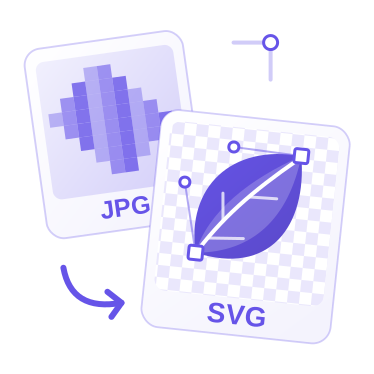
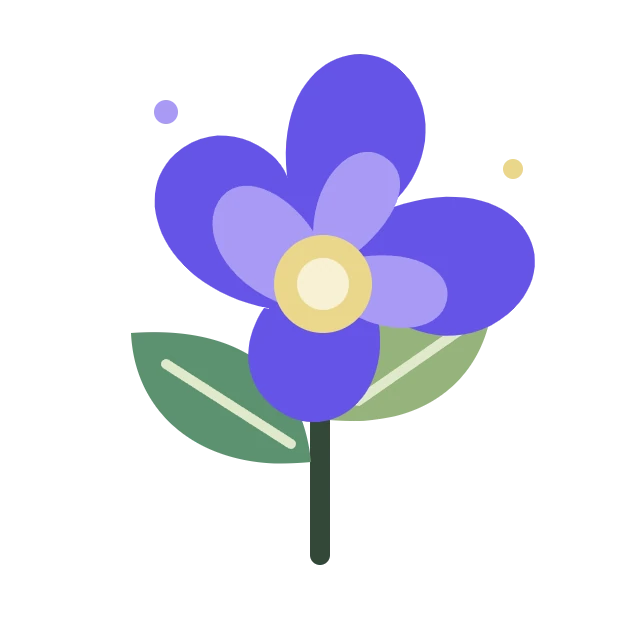
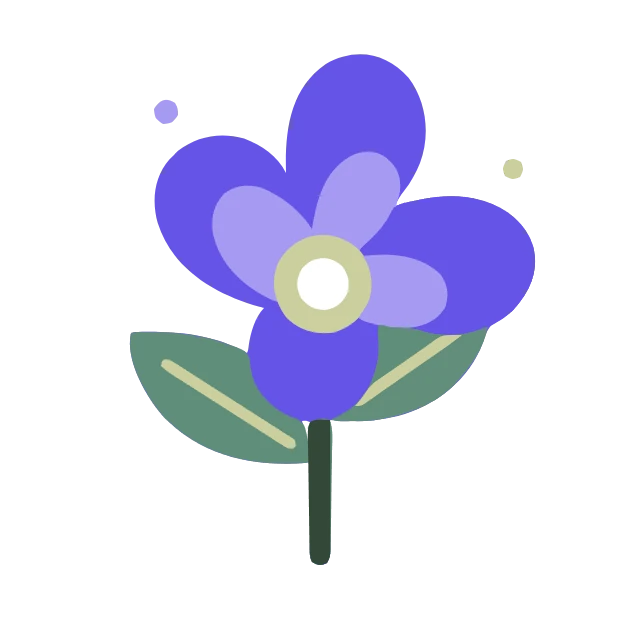
The example starts with a clean flower illustration and inspects the real SVG paths produced by the Logo preset. Open Image to SVG.
Choose artwork and a preset
Open Image to SVG and upload PNG, JPG or JPEG artwork. Logos, icons and flat illustrations with clear edges are good starting points. Photographs can be traced, but the result is a simplified collection of shapes rather than a faithful photographic replacement.
Choose Logo, Illustration or Line art. Logo starts with a compact palette; Illustration begins with more colors and detail; Line art starts Black and white tracing. Presets set several controls together, and you can refine them afterward.
A clean raster source generally traces better than one with compression artifacts, shadows or textured backgrounds.
Compare and refine the vector
In Color mode, Colors requests 2 to 32 colors. Detail ranges from 1 to 5. Open Refine edges and background for Smooth curves, Remove small speckles and Background. Extra detail can increase path count; cleanup can remove dots that belong to the design.
Select Update preview after changing controls. Use Original, Vector and Compare; Compare has a movable divider. The example uses Logo with 8 colors and the other preset defaults. The downloaded SVG has 14 paths. Palette reduction changes some flower colors, as the comparison shows.
Color tracing with Preserve transparency retains existing clear regions but does not remove an opaque background. Black and white tracing keeps dark shapes and makes light areas transparent. Choose White for an opaque white canvas.
SVG can be larger than its source. Judge the paths and appearance, not file size alone.
The example in this guide
Preset: Logo; Color mode; Colors: 8; Detail: 3; Smooth curves: 60; Remove small speckles: 4; Background: Preserve transparency.
- Input
- 640 x 640 px
- Output
- 640 x 640 px
- Input file
- 23,812 bytes
- Downloaded file
- 12,938 bytes
- Vector paths
- 14
Export the SVG paths
Select Start. One input produces an SVG; a batch produces a ZIP. Settings apply to every input, so inspect each thumbnail if your sources need different treatment.
The example retains a 640 x 640 canvas and is 12,938 bytes. Open the actual SVG in a vector editor to inspect its paths and fills. Lettering becomes outlines, not editable text. Tracing cannot recover the original fonts, layers or design files.
Preview traces use up to 1200 pixels on the longest side. Final conversion traces up to 2048 pixels while retaining original SVG dimensions and viewBox. Large sources can therefore show different fine details in the final file.
These article images are WebP renders of the source and real SVG. The actual download contains paths rather than a bitmap wrapper.
Common questions
Is this a true vector conversion?
Yes. The output contains SVG paths and fills without embedding the source PNG or JPG as a bitmap.
Will it keep every original color?
Not necessarily. Colors limits the palette. Tracing can merge similar colors or simplify small regions, so inspect the preview.
Can I batch PNG and JPG together?
Yes. Up to 10 files of 25 MB each. Resource, 60-megapixel source and output-complexity limits also apply.
Does lettering become editable text?
No. Visible letters become vector outlines. Use OCR for recognized text rather than traced shapes.
Try the workflow with your own image, and keep your original file for future edits.
Try a sample or use your own file, and review the result before sharing.