

Straighten a tilted image with an automatic angle estimate or precise manual rotation, then save PNG, JPG or WebP. Open Straighten Image.
Choose Manual or Automatic
Open Straighten Image and select Choose images, drag in a supported file, or use the sample. On a phone, open Settings to reach the same controls.
Use Manual to set the angle yourself, or Automatic to start with the detected alignment.
Detection is a starting point. A sloped landscape or decorative diagonal can be intentional, so compare the suggestion with the scene.
Fine-tune the angle
Use the angle control and the small Left or Right adjustments to line up a horizon, text baseline or document edge.
Inspect both the center and corners. Stop when the meaningful reference is level, not when every line in the scene appears horizontal.
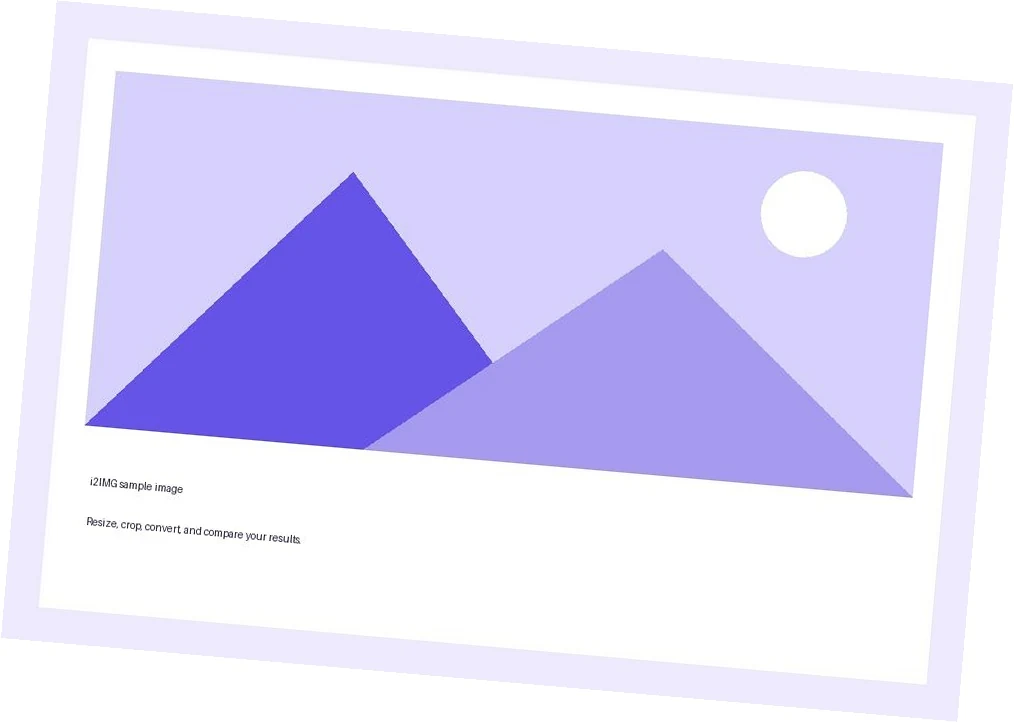
The example in this guide
Angle: -5
- Input
- 1,014 x 722 px
- Output
- 1,074 x 808 px
- Input file
- 55,308 bytes
- Downloaded file
- 249,659 bytes
Review the turned edges
Select the file format and check the result before downloading.
Keep the downloaded copy before starting a new task. Refreshing an editor or download page returns to the main tool page; normal Back navigation can restore the current workflow.
Straightening changes the surrounding canvas. If you need a tight rectangle, crop the saved image afterward.
Common questions
What should I check in the downloaded result?
Straightening changes the surrounding canvas. If you need a tight rectangle, crop the saved image afterward.
Can Straighten Image detect an angle automatically?
Yes. Select Automatic to use the detected correction shown in the preview. Select Manual to use the slider, number field or Left/Right controls between -45 and 45 degrees. Switching tabs preserves the manual angle.
How does Straighten Image work?
Straighten a tilted image with an automatic angle estimate or precise manual rotation, then save PNG, JPG or WebP.
Try this with your own file.
Try a sample or use your own file, and review the result before sharing.