
Select an image area, choose one to six rows and columns, and download the resulting image tiles. Open Image Splitter.
Choose the region and grid
Open Image Splitter and select Choose images, drag in a supported file, or use the sample. On a phone, open Settings to reach the same controls.
Adjust the crop frame if you want to split only part of the picture. Choose Rows and Columns, each from 1 to 6.
The maximum 6 by 6 grid makes 36 tiles. Check that important details will not be divided awkwardly across the cuts.
Inspect where the lines fall
Use the grid overlay before Start to review the boundaries.
A grid creates separate files. It does not add gaps, borders or a social-media posting order to the source.
The example in this guide
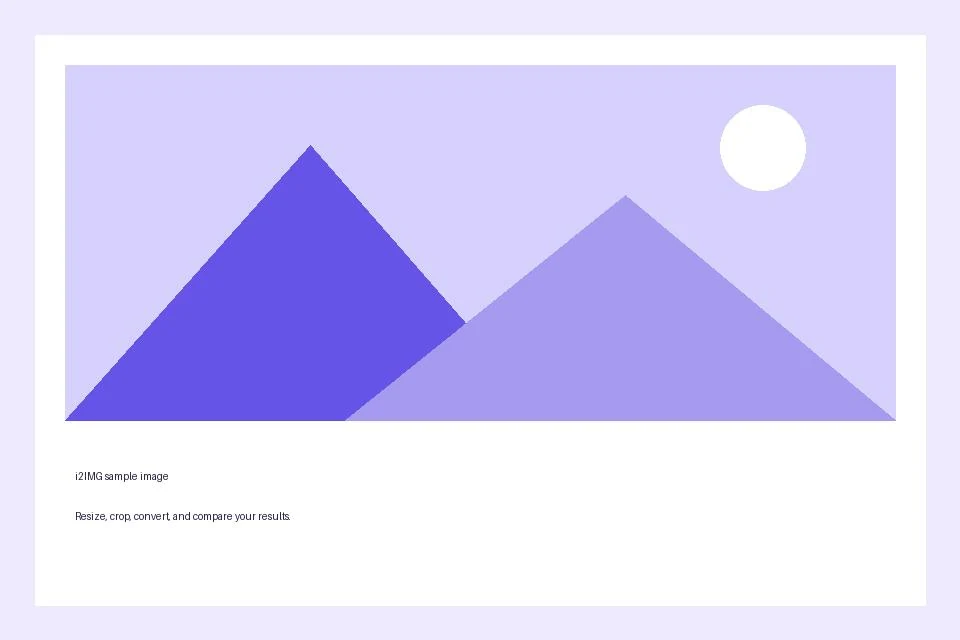
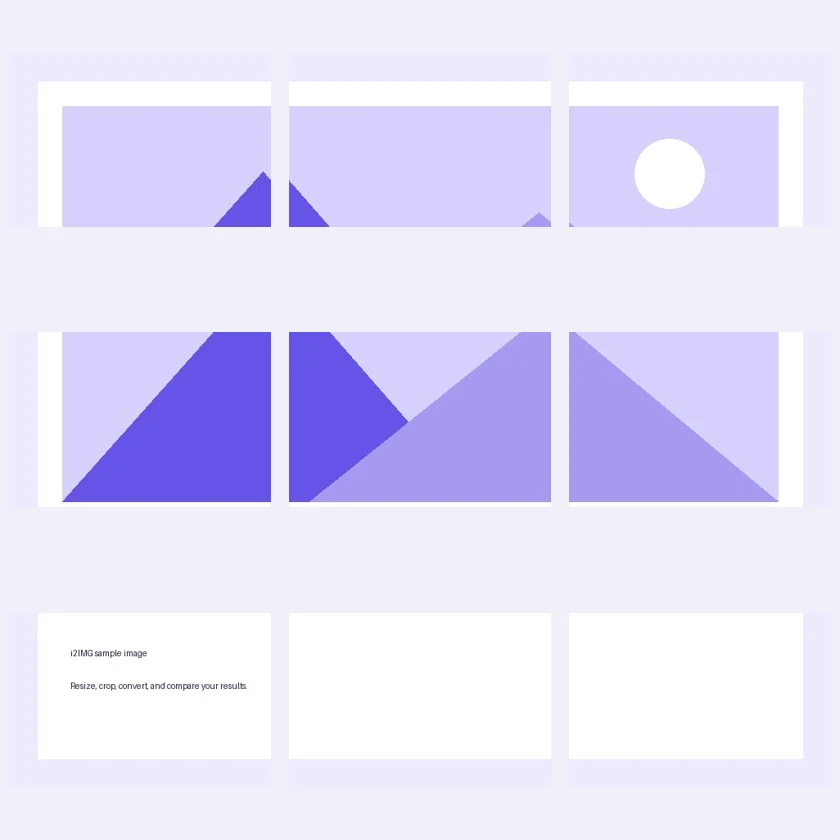
Rows: 3; Columns: 3
- Input
- 960 x 640 px
- Output
- 9 archive members
- Input file
- 21,970 bytes
- Downloaded file
- 70,007 bytes
Download the tile archive
After Start, review the compact square tile previews, then use the single Download button to save the ZIP.
Keep the downloaded copy before starting a new task. Refreshing an editor or download page returns to the main tool page; normal Back navigation can restore the current workflow.
The tiles are display-only previews; individual edit and download controls are intentionally absent. Continue to appears below the results.
Common questions
What should I check in the downloaded result?
The tiles are display-only previews; individual edit and download controls are intentionally absent. Continue to appears below the results.
How does Image Splitter work?
Select an image area, choose one to six rows and columns, and download the resulting image tiles.
How do I know the order of the split images?
Each output filename identifies its row and column. Arrange them in row order, then column order within each row.
Try this with your own file.
Try a sample or use your own file, and review the result before sharing.