
The worked example fits a HEIC image inside an 800-pixel bounding box and saves it as PNG. Use the same process with JPG when that format suits your destination. Open HEIC Converter.
Choose PNG or JPG
Open HEIC Converter and upload a HEIC or HEIF file, or try the sample. The editor prepares a browser-compatible preview. Select a thumbnail above the viewer to inspect each photo in a batch.
Use File format to choose PNG or JPG. PNG uses lossless output encoding and supports transparency. JPG offers adjustable Image quality and is a practical photo format when the receiving service accepts it. Neither format is always smaller.
PNG conversion cannot recover detail already lost in the source. Keep the original as your master copy.
Set size and photo metadata
Leave Image size at Original size, choose a fit preset or choose Custom maximum size. A custom width and height form a bounding box: the photo keeps its proportions and is never enlarged beyond its source dimensions.
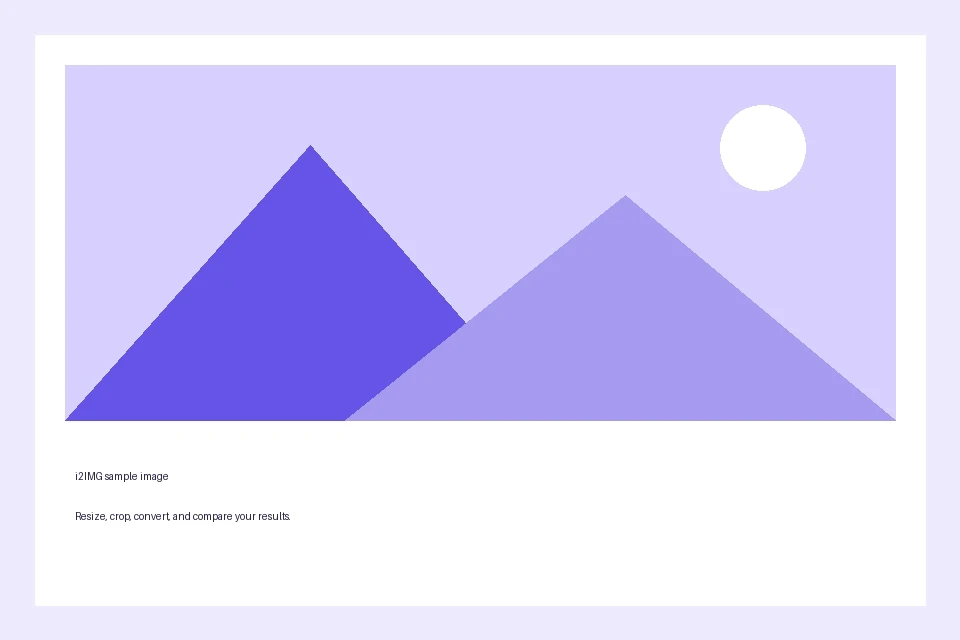
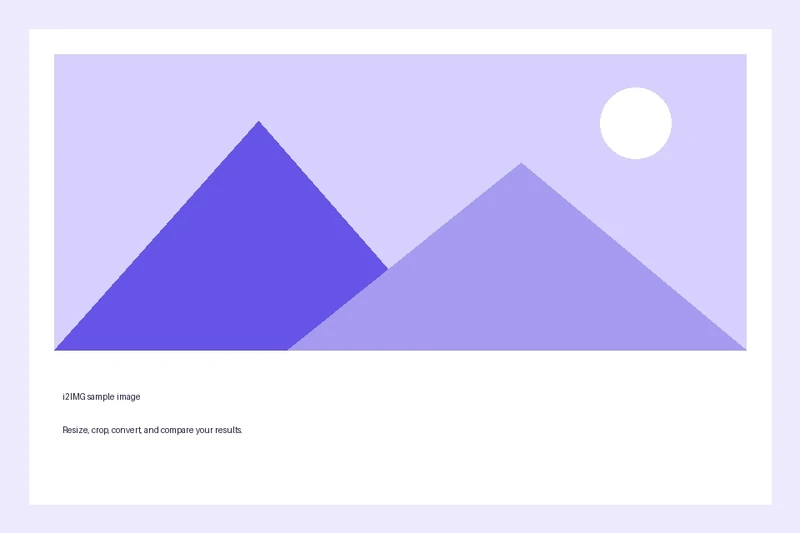
In this real example, the 960 x 640 HEIC sample was converted to PNG with Max. width and Max. height both set to 800. The downloaded result is 800 x 533 pixels. It fits the requested bounds without stretching into a square.
Open More options for Resolution (DPI) and Photo metadata. Remove metadata is the default. Keep available EXIF metadata can retain supported camera and location details. DPI describes print density; it does not add image pixels.
For JPG output, JPG background fills transparent areas with the chosen color. Opaque photos are unaffected.
The example in this guide
File format: PNG; Custom maximum size: 800 x 800 px; Photo metadata: Remove metadata.
- Input
- 960 x 640 px
- Output
- 800 x 533 px
- Input file
- 27,779 bytes
- Downloaded file
- 28,248 bytes
Convert and check the saved files
Select Start after reviewing the settings. A single photo produces one image download. Multiple photos produce a ZIP containing the converted images, with the same settings applied to the batch.
Output names retain the source basename where possible and change the extension; repeated names receive a suffix. Open the downloaded file or extract the ZIP and check dimensions. The comparison displays each image at a similar visual size, so use its measurements to check the resize.
Each source exports its primary or first still image as 8-bit SDR. Motion, depth data, HDR representations and extra container images are not exported.
Common questions
Can I convert HEIF too?
Yes. HEIC and HEIF files containing a supported image are decoded and validated before conversion.
Does an 800 x 800 fit crop the photo?
No. These are maximum bounds. The image is fitted proportionally without cropping or enlarging a smaller source.
How many photos can I convert?
Up to 20 files of 25 MB each. Each source is limited to 60 megapixels; combined resource limits can require large batches to be split.
Will my location be kept?
Remove metadata is the default. Keep available EXIF metadata can retain supported location tags when present. Chosen output DPI can still be written when source metadata is removed.
Try the workflow with your own image, and keep your original file for future edits.
Try a sample or use your own file, and review the result before sharing.