
Follow this example to arrange three photographs on one square canvas, then adapt the layout and size to your own collection. Open Combine Images.
Choose photos and a layout
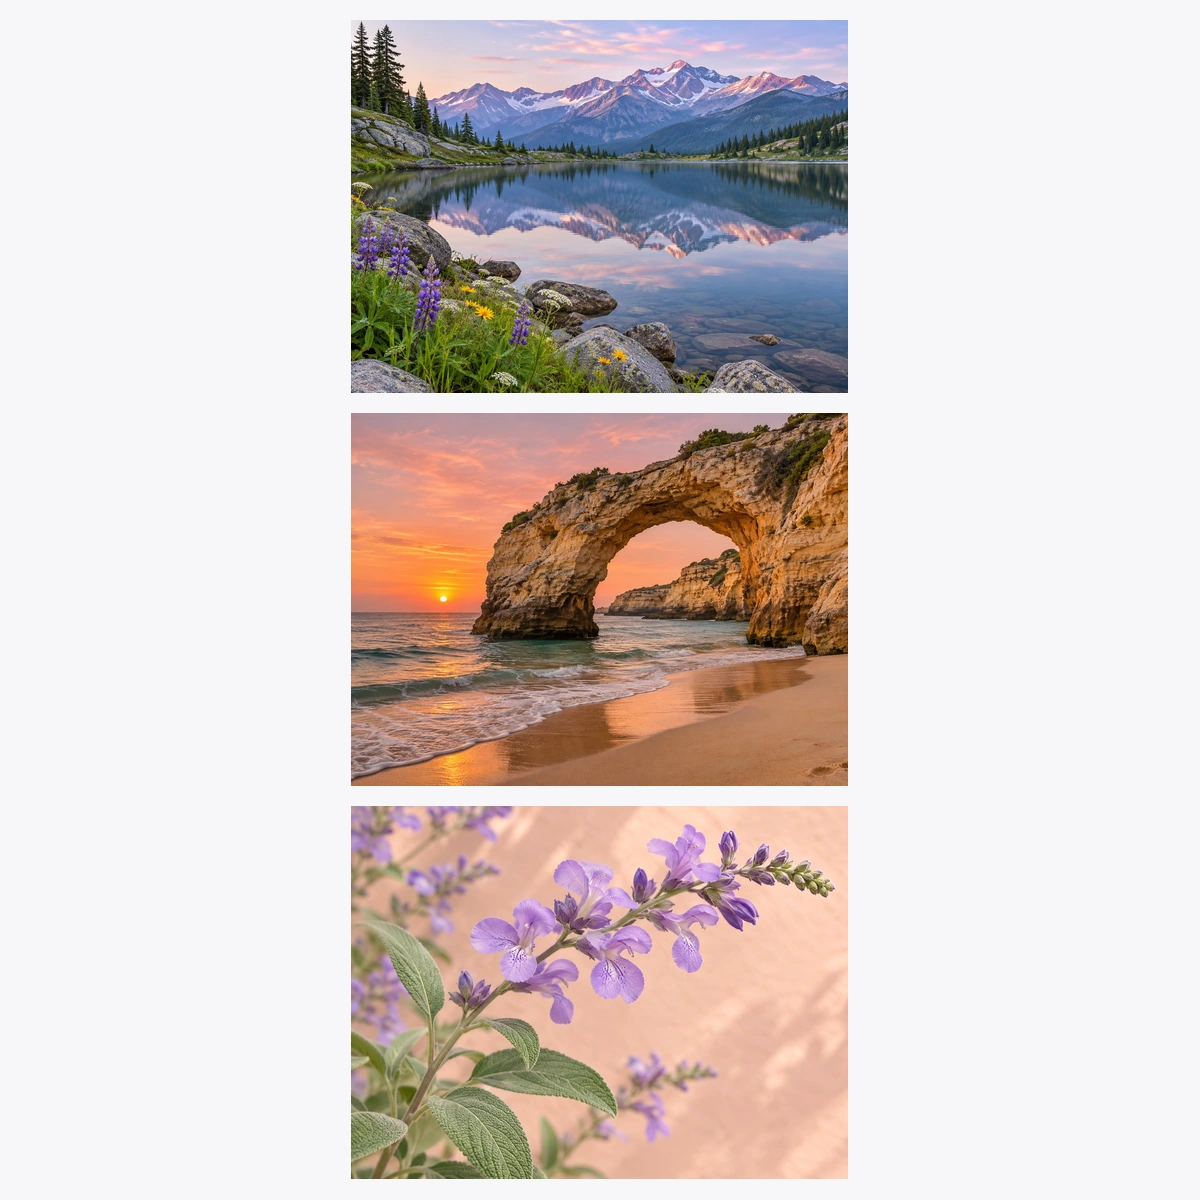
Open Combine Images and upload the pictures you want to arrange. You can use up to 20 supported files of 25 MB each. The thumbnails above the collage show the input order; use their arrows to move a photo into another position.
Start with Grid for a balanced group, Side by side for one horizontal row, or Stacked for a vertical sequence. Feature left and Feature top reserve more space for the first photo. Filmstrip gives a group a wide canvas.
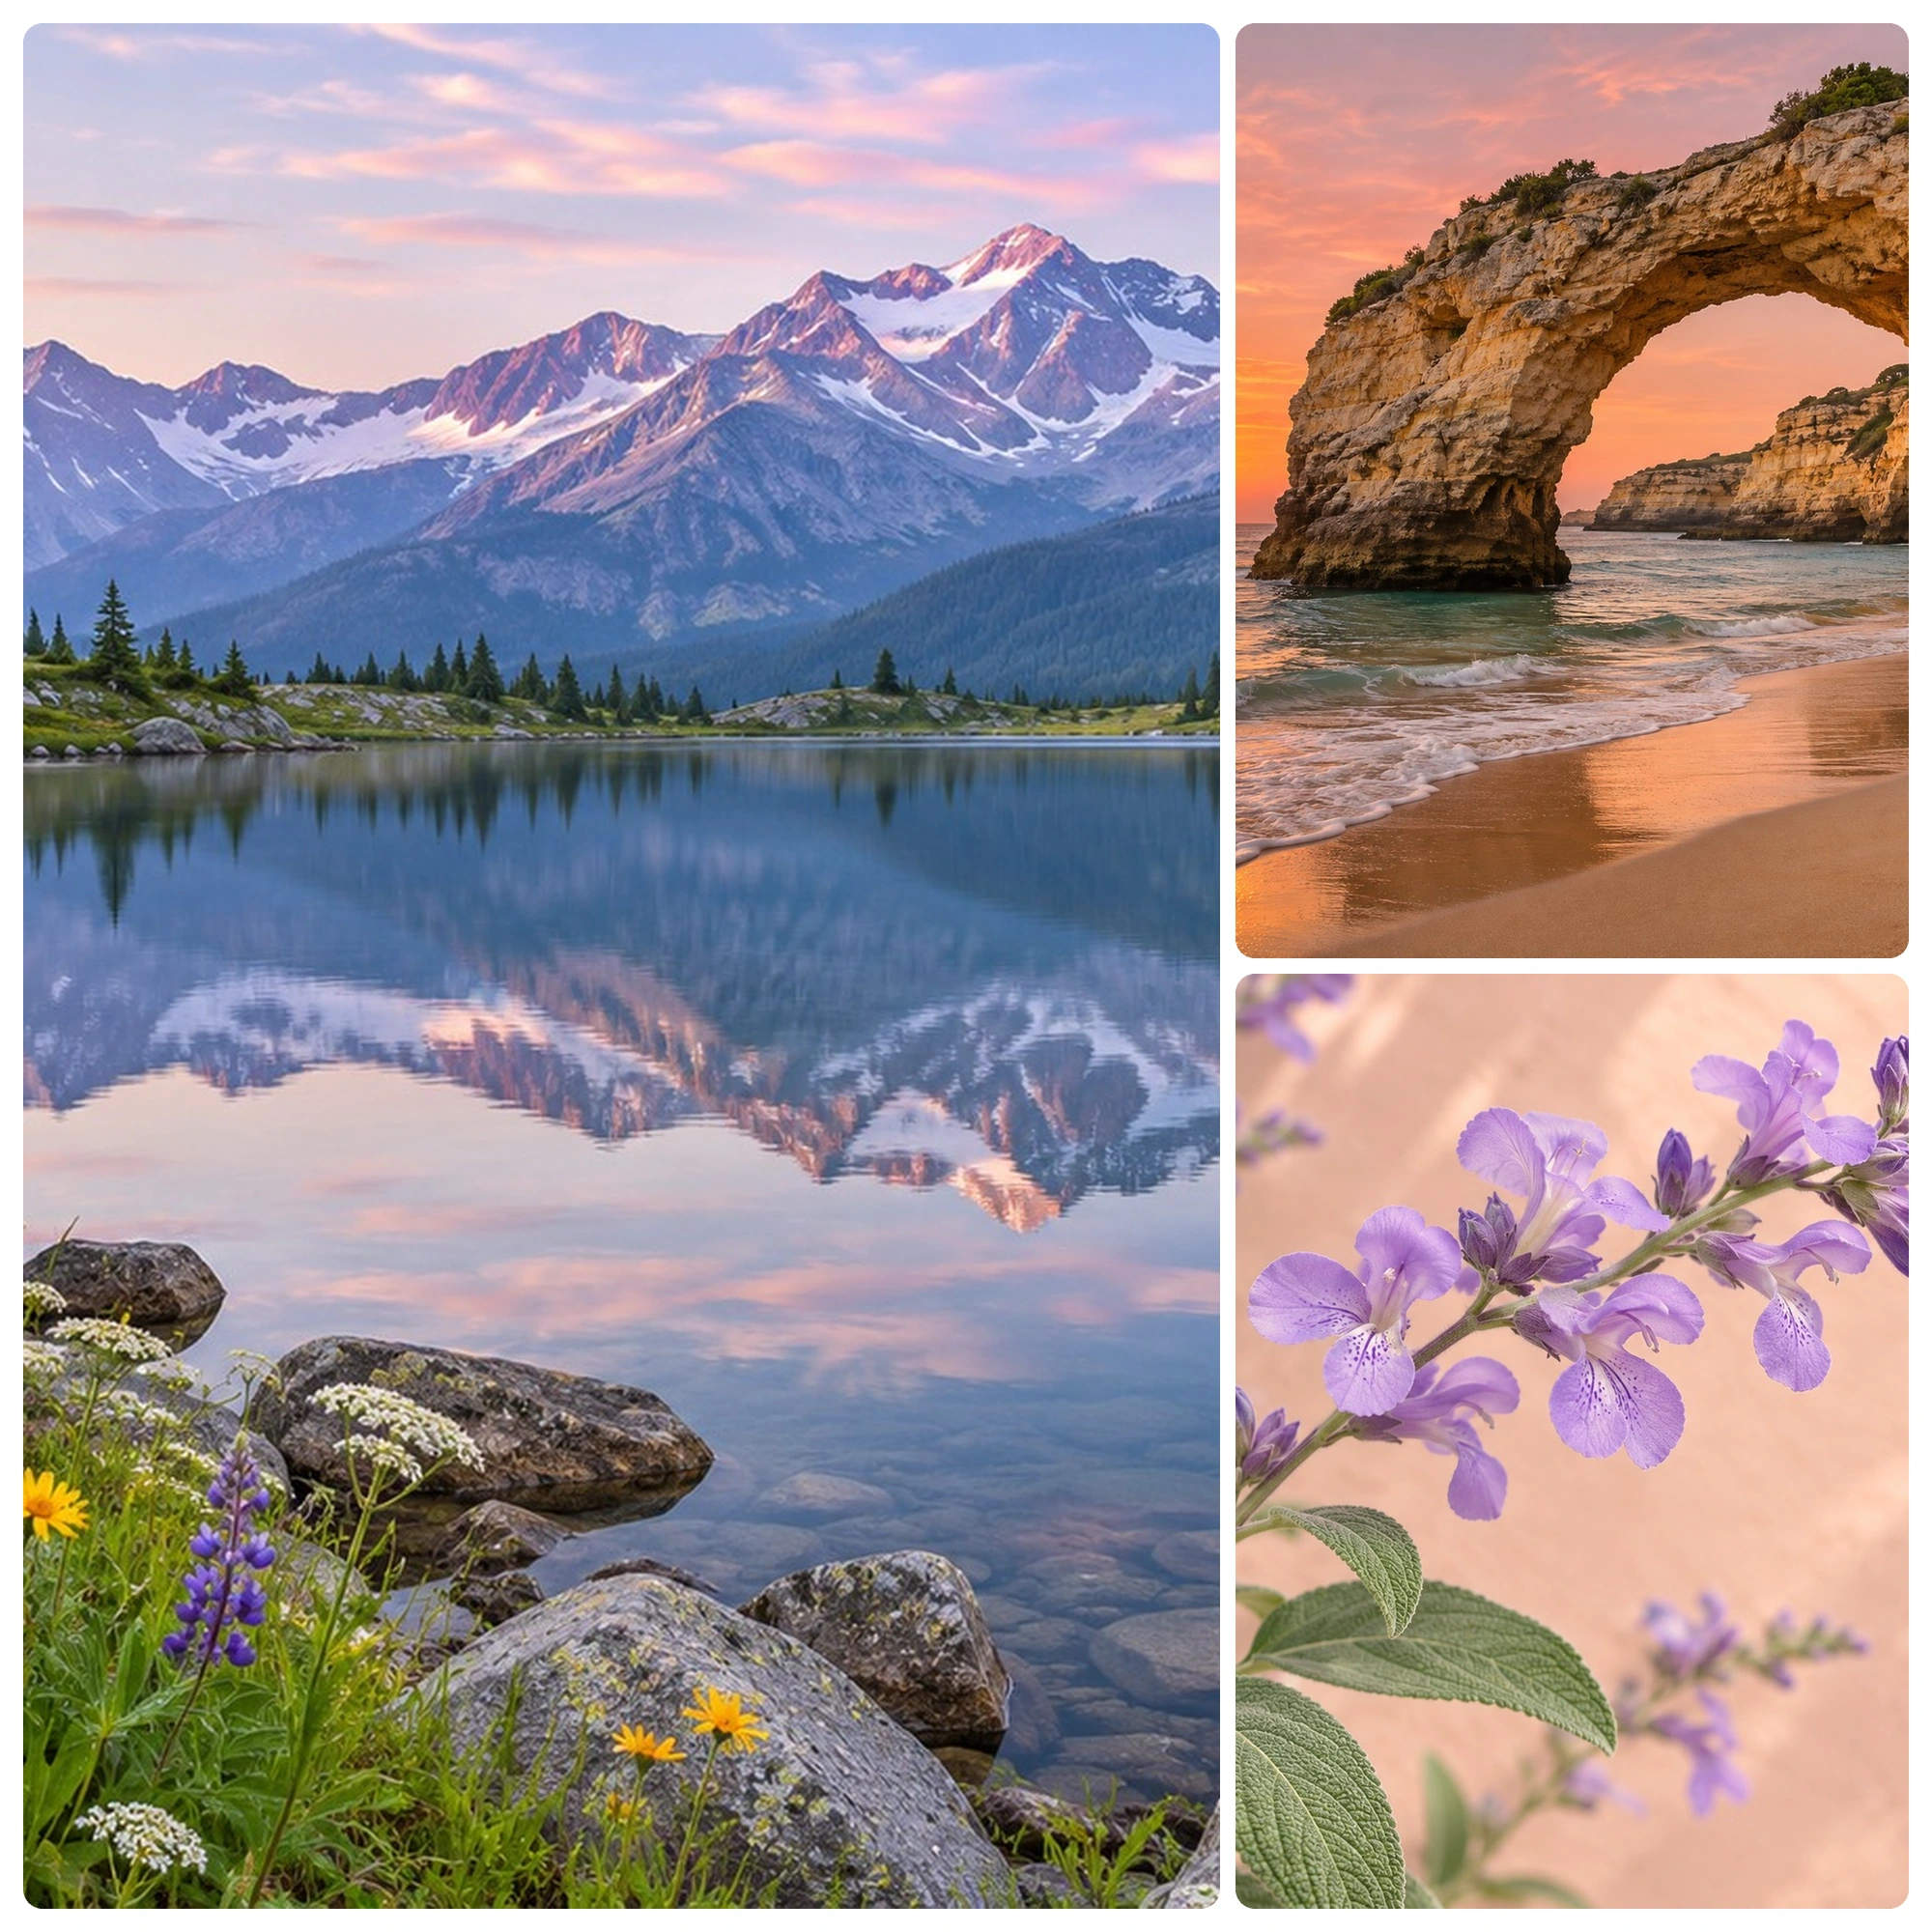
The example uses collage-lake.jpg, collage-coast.jpg and collage-botanical.jpg in that order, then selects Feature left. Each source is 1200 x 900 pixels. The lake becomes the lead image; the coast and flowers occupy the two smaller frames.
Choose the lead photo first. A wide photo in a tall feature frame can lose a substantial amount at its left and right edges.
Frame the photos and canvas
Set Canvas size to Square for the example's 2000 x 2000 output. Other presets include Portrait, Story, Landscape and Widescreen. Custom dimensions give direct Width (px) and Height (px) controls, from 100 to 8000 pixels per edge with a 32-megapixel total limit.
Photos in their frames offers Fill each frame and Show the whole photo. Fill covers the frame and crops excess edges. Show the whole photo fits the full image at 100% Photo zoom, potentially leaving unused background around it.
Select a photo on the canvas or in the thumbnail row. Drag to adjust its framing, change Photo zoom, or use Left and Right for 90-degree rotations. Reset photo restores centered framing with no rotation and 100% zoom. Our example keeps all three photos centered at 100% and uses Fill each frame.
Canvas size is the output size, not a resolution enhancer. Enlarging a small photo cannot create missing detail.
The example in this guide
Feature left; Square 2000 x 2000 px; Fill each frame; Spacing 16 px; Outer margin 24 px; Rounded corners 20 px; white background; all photos centered at 100% zoom; PNG.
- Source photos
- 3 images, each 1200 x 900 px
- Canvas
- 2000 x 2000 px
- Layout
- Feature left
- Downloaded PNG
- 5,280,725 bytes
Set spacing and the background
For this composition, set Spacing to 16 px and Outer margin to 24 px. Under Corners and background, use Rounded corners of 20 px and a white Background color. This leaves a consistent border around the pictures.
Transparent background works with PNG and WebP. JPG uses an opaque fill instead. Choose a background that suits the destination, especially when Show the whole photo leaves visible space in a frame.
Try Shuffle if you want a different photo arrangement. Undo and Redo let you compare recent composition changes. Adding or removing a file resets that history for the new set of source images.
Spacing and corners are measured in output pixels. Very large values can crowd the photos or leave no room for a frame on a small canvas.
Export one finished image
Choose PNG under Save as and select Start. The final composition is rendered from the uploaded originals. This example downloads collage.png at exactly 2000 x 2000 pixels and 5,280,725 bytes. It is one combined image, so there is no ZIP to unpack.
JPG and WebP also have an Image quality slider. Use one of these when the destination accepts it and the PNG is larger than you need. PNG uses lossless output encoding, but resizing and cropping still change the image pixels.
Open the saved file and check the frame edges and dimensions. Download before refreshing: an editor or download refresh returns you to the tool page. Keep the original photos because a flattened collage does not retain editable source layers.
The article comparison uses smaller WebP previews of the genuine inputs and result. The actual downloaded file remains the 2000 x 2000 PNG.
Common questions
Can I join just two pictures?
Yes. Upload the two images and choose Side by side, Stacked or another layout. You can adjust the canvas, spacing and framing just as with a larger collage.
Can I keep every source edge?
Use Show the whole photo with 100% zoom. When a frame has a different shape from its photo, the chosen background fills the remaining space.
Will the output keep animation and camera metadata?
No. The tool uses the first still frame, applies orientation and removes source metadata. It produces a flattened image without animation or source layers.
Is the final collage made in the browser?
The browser shows the live composition. Start uploads the original images and layout to render the final file on the server. Some formats also require a server preview before editing.
Build a collage that gives each photo its place
Try a sample or use your own file, and review the result before sharing.