
Crop, adjust, draw on, and decorate a photo in the browser, then save the finished image as PNG, JPG or WebP. Open Photo Editor.
Make the main visual adjustment
Open Photo Editor and select Choose images, drag in a supported file, or use the sample. On a phone, open Settings to reach the same controls.
Open the editor and use the relevant crop, transform or adjustment controls to establish the image.
Make structural changes before adding text or decorative layers, so those elements do not need to be repositioned later.
Review the layers and history
Use the editing toolbar above the image to add or adjust text, shapes and image elements. Use undo or history to compare changes.
Inspect the edges and small details at a useful zoom level. The original on your device remains separate from the exported copy.
The example in this guide
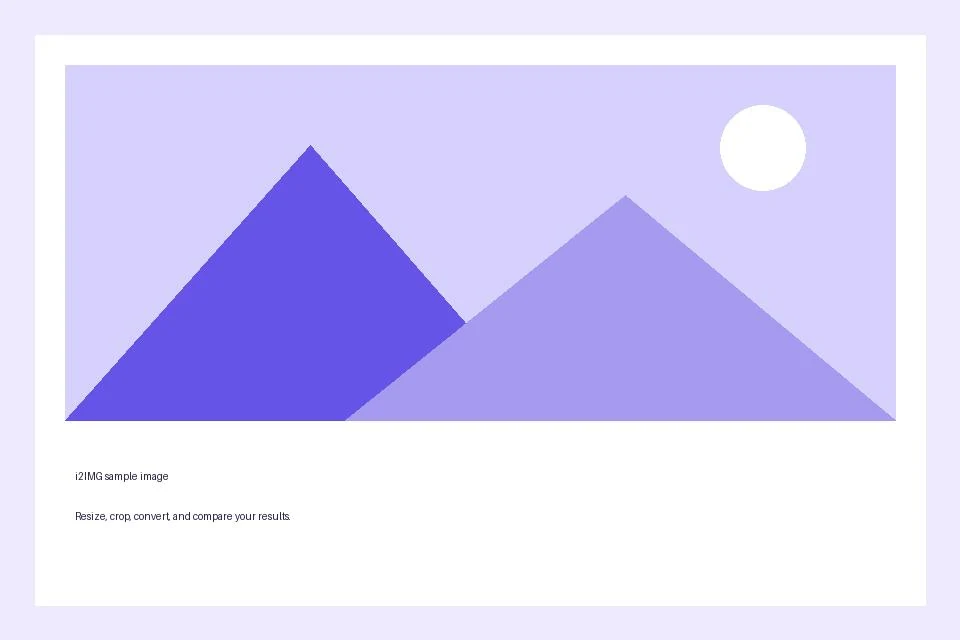
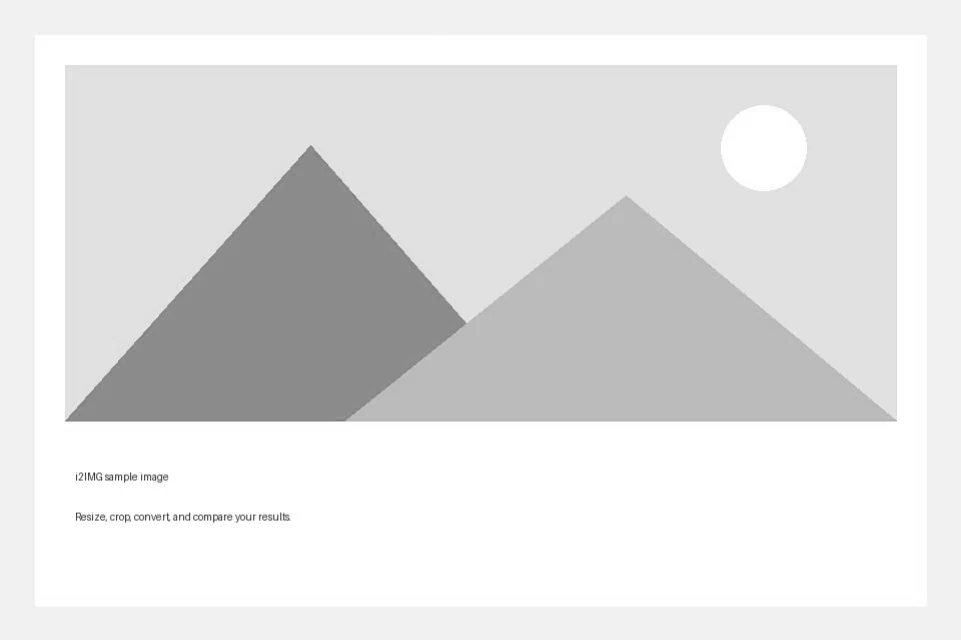
The available default settings were used.
- Input
- 960 x 640 px
- Output
- 961 x 640 px
- Input file
- 21,970 bytes
- Downloaded file
- 68,538 bytes
Export the edited picture
Choose the offered PNG, JPG or WebP format and save the result.
Keep the downloaded copy before starting a new task. Refreshing an editor or download page returns to the main tool page; normal Back navigation can restore the current workflow.
PNG or WebP can carry transparency; JPG needs a solid background. Review the saved image rather than relying only on the editor preview.
Common questions
What should I check in the downloaded result?
PNG or WebP can carry transparency; JPG needs a solid background. Review the saved image rather than relying only on the editor preview.
How does Photo Editor work?
Crop, adjust, draw on, and decorate a photo in the browser, then save the finished image as PNG, JPG or WebP.
Can I edit the text layers in the downloaded file?
No. Text, shapes and overlays are combined into the downloaded pixels. Keep the editor open until you are happy with the design.
Try this with your own file.
Try a sample or use your own file, and review the result before sharing.