
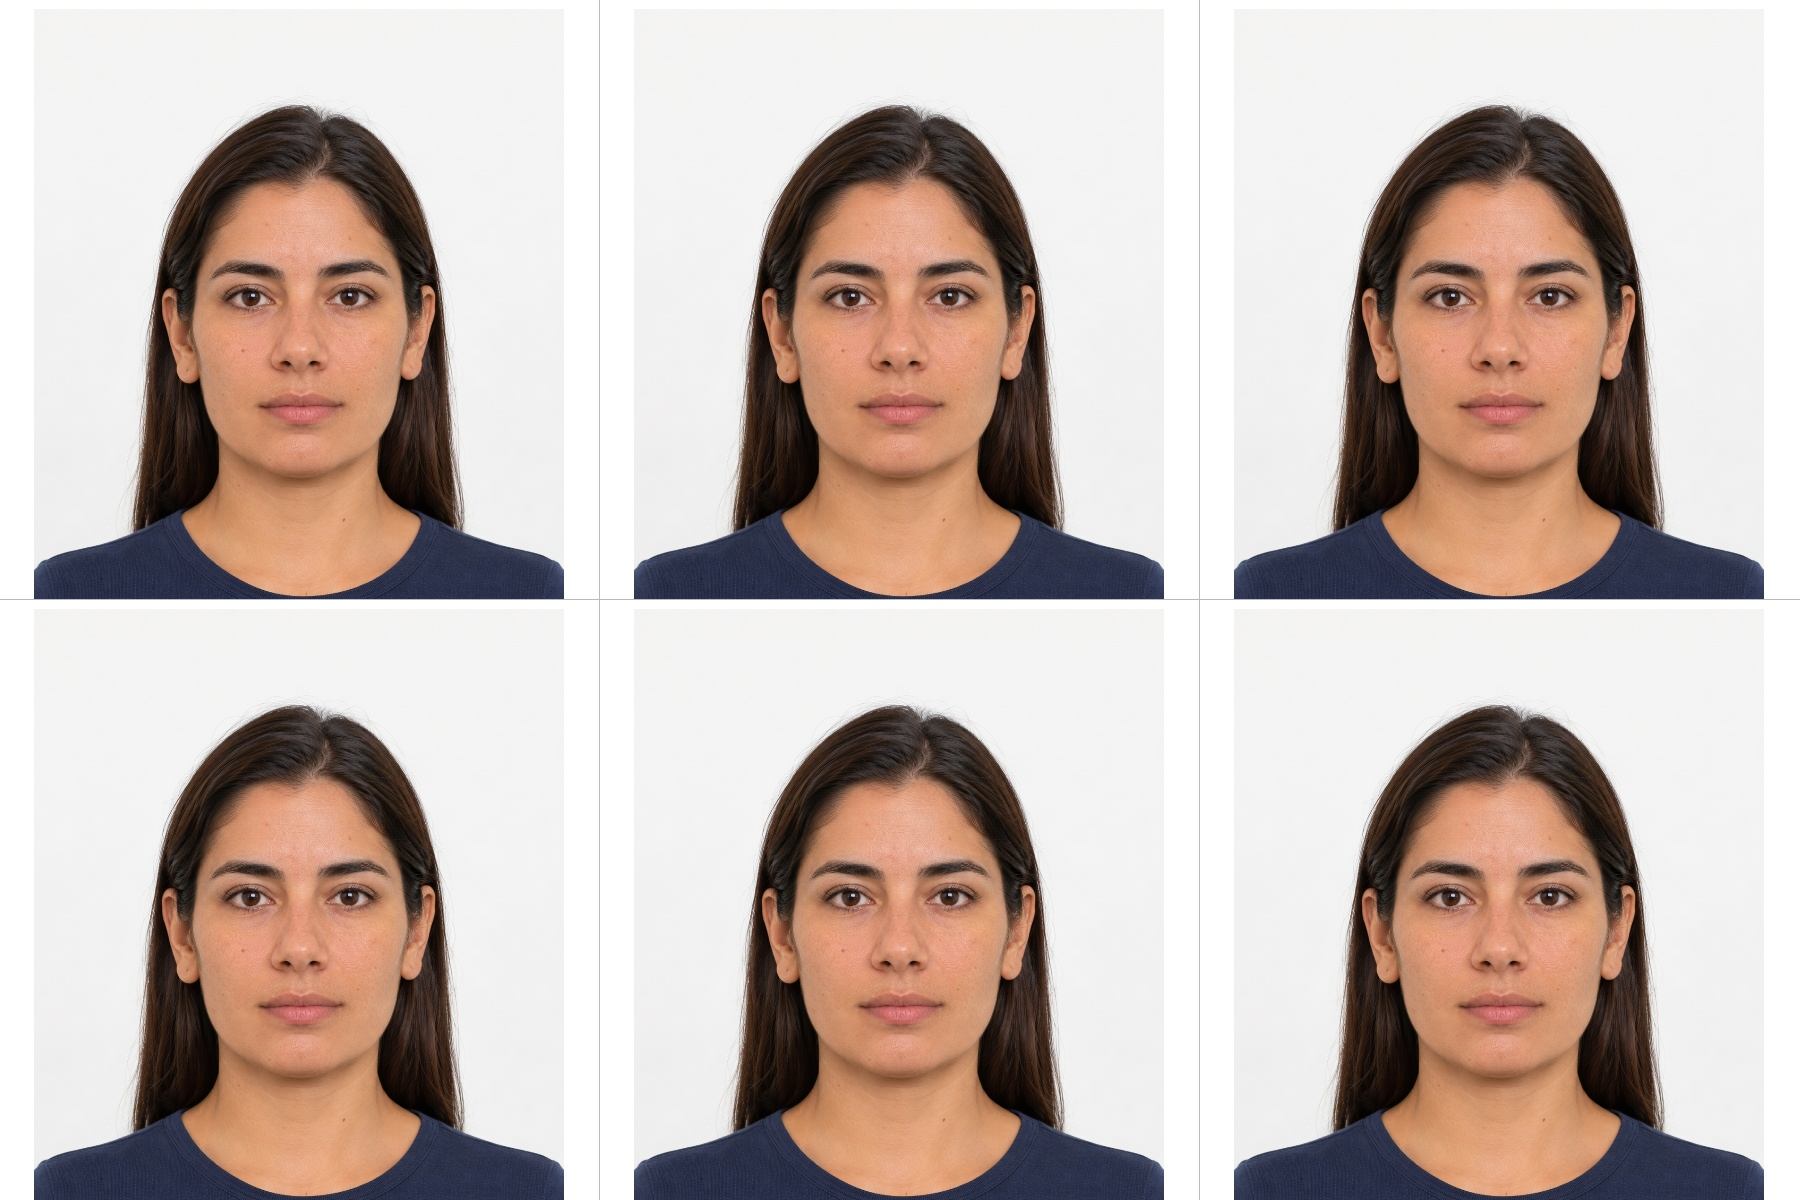
Choose the passport-issuing country and application type in Passport & ID Photo Maker. Printed photo mode lets you position a portrait and create a single photo or printable sheet with embedded DPI. Online mode keeps the original file unchanged and checks supported file requirements. This worked example makes six 2-inch square photos on a 4 × 6 inch sheet at 300 DPI; it demonstrates printed sizing and layout, not official passport approval. Open Passport & ID Photo Maker.
Choose a suitable portrait
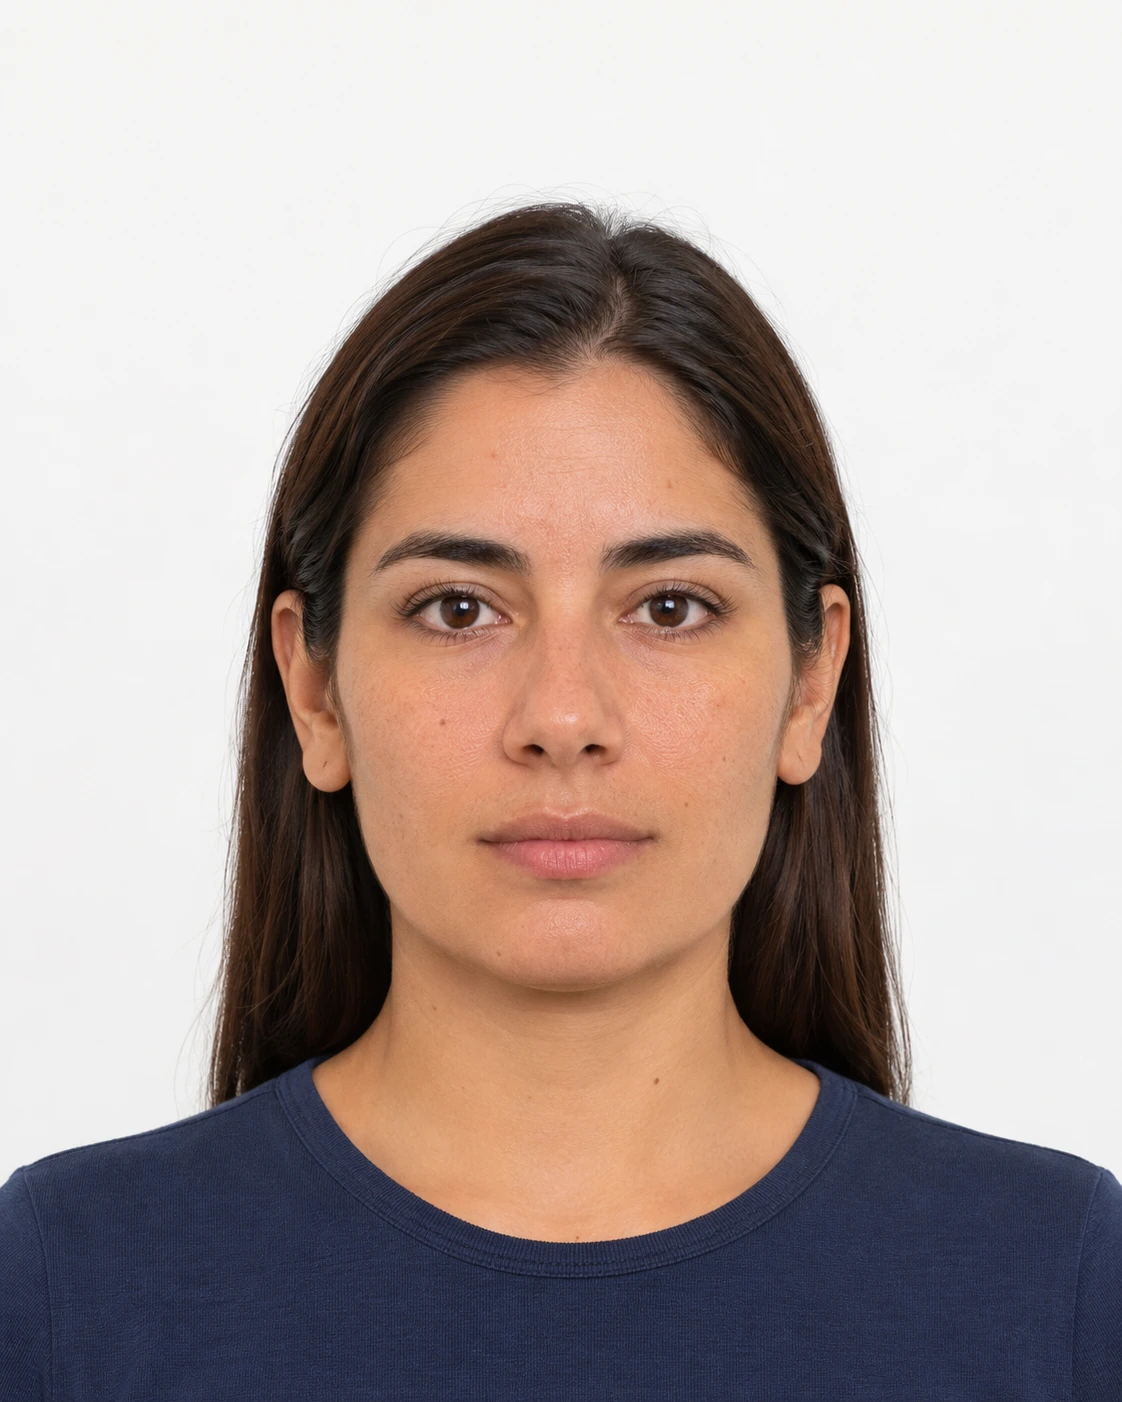
Open Passport & ID Photo Maker and choose an image, or open the sample. The demonstration portrait is fictional and is supplied only to explore the controls. Use your own recent, unaltered photograph for any real application.
The tool accepts one JPG, PNG, WebP, GIF or BMP, up to 25 MB, 32 megapixels and 16,384 pixels per side. Animated files contribute their first still frame. Processing takes place in the browser.
In the Application card, choose the passport-issuing country from the flag-labelled Country list, then choose Application type. Printed photo, US or Canada Online renewal, and UK Online application use different requirements. The official photo requirements link follows this selection. Rules were reviewed on 10 November 2026; check that source for current instructions.
For an online application, use the original photograph. File checks report supported format and numerical requirements; they cannot verify pose, background, lighting, photo age or who took the photo. Online mode does not offer crop, framing, DPI or print-sheet controls and does not re-encode the original. UK own-device uploads must include the head, shoulders and upper body and be left for the official service to crop. Canada online photos must come from a commercial photographer.
A print-size preset does not certify acceptance. Canada requires commercial photography and professional printing; this tool does not replace that service.
Mark the head, chin and face centre
For the printed dimensions in this example, choose United States under Country and Printed photo under Application type. At 300 DPI, its 2 × 2 inch preset produces a 600 × 600 pixel photo. The 2-inch value is exactly 50.8 mm. This worked example uses the current draggable head, chin and face-centre markers, followed by Fit marked head.
The editor starts with the entire original photo visible. Photo zoom ranges from 10% to 350%, with Zoom out and Zoom in above the image. Fit photo shows the selected source area. Reset framing clears the crop and head markers and restores the whole original. The image and output frame may have different proportions, so fitting or moving the photo can expose white areas around it.
Drag the handles labelled Drag to head top and Drag to chin onto those two points. Optionally move Drag to face center horizontally through the middle of the face or nose. Once the head and chin are marked, Fit marked head scales the marked height to the selected printed-photo range and centres it vertically; a marked face centre also guides horizontal positioning. Review the result. To choose a different source region, use Crop photo, adjust the frame and select Apply crop. These measurements depend on your markers; they are not face detection or an official acceptance check. None of the guides appears in the download.
In the recorded example, the manual markers indicate a head height of 30.2 mm after fitting, inside the US printed-photo range. This only confirms the calculation for our chosen landmarks on a fictional portrait; it does not validate the source photo or establish passport acceptance.
Drag the portrait or adjust Horizontal position and Vertical position, including when the photo is smaller than the frame. Arrow keys move the focused image; Shift increases the movement. Use + / - to zoom and Home to reset framing.
Start with enough space around the subject. Zooming in cannot recover a head or shoulder that was already cut off in the source.
The example in this guide
Recorded current workflow: United States / Printed photo; manual head-top, chin and face-centre markers; Fit marked head (30.2 mm indicated); 300 DPI; 4 × 6 inch sheet; 6 copies; 0 mm gap; Cutting outlines enabled; JPG quality 95.
- Photo
- 600 × 600 px / 2 × 2 in
- Sheet
- 1800 × 1200 px / 4 × 6 in
- Copies
- 6, with no gap
- Embedded density
- 300 × 300 DPI
Choose the sheet and check its capacity
Set Output layout to 4 × 6 inch print sheet. Keep Copies per sheet at 6, Gap between copies at 0 mm, Print resolution at 300 DPI and Cutting outlines enabled.
Six 2-inch square photos fit exactly in three columns and two rows when the gap is zero. A positive gap leaves room for only two on this sheet. The Copies per sheet summary shows the requested count and available capacity; Start remains unavailable until all requested copies fit. Select Remove gaps to fit 6, choose A4, or explicitly choose a lower copy count. The photo dimensions are preserved.
Choosing a print layout or changing Copies per sheet or Gap between copies opens the sheet preview automatically. Use Photo to return to portrait positioning, then Print sheet to inspect the complete layout. These preview buttons do not change Output layout. One downloaded image contains the whole sheet, rather than creating a separate file for each copy.
A4 at 600 DPI exceeds the tool’s 32-megapixel output budget. Use 300 DPI for an A4 sheet.
Export and print at actual size
Choose JPG or PNG under Save as and select Start. The final image is rendered from the original source and the chosen crop, then the Download page opens.
The real example output is 1800 × 1200 pixels with 300 DPI embedded in its JPG density metadata. The comparison shows the original fictional portrait and the actual downloaded six-copy sheet.
Download the file and select actual size or 100% in your printing application. Fit to page, printer margins or automatic scaling may alter the physical size. Measure a printed copy before relying on its dimensions.
Keep the original source photo. The exported sheet is a flattened image rather than an editable project, and refreshing the editor or download page returns to the main tool page.
Download provides the selected JPG or PNG photo or print sheet directly. The size, copy count and DPI are shown in settings and DPI is embedded in the image, so a separate attributes text file is not needed.
PNG and JPG can both store the intended print density, but your print software must respect it.
Official photo requirements
Check the issuing authority's instructions for your application type before submitting a photo.
Common questions
Is a 2 × 2 inch photo always 600 × 600 pixels?
It is 600 × 600 pixels at 300 DPI. At 150 DPI it is 300 × 300, and at 600 DPI it is 1200 × 1200. The selected density is embedded in the exported JPG or PNG.
Does the tool guarantee passport acceptance?
No. It provides dimensions, crop controls and layout aids. The issuer decides acceptance using additional rules about the source photograph, age, expression, background, printing and application channel.
Can I make six photos on a 4 × 6 sheet?
Yes, six US 2-inch photos fit on a 4 × 6 inch sheet with Gap between copies set to zero. Larger photos or gaps reduce the fitted count.
Do the guides appear in my saved photo?
No. The draggable head, chin and face-centre guides and measurements are preview aids only. Cutting outlines are included on a print sheet only when you enable them.
Can I make a Canadian passport photo at home?
Canada’s printed-passport requirements call for a commercial photographer and professional printing. The preset helps with dimensions but does not replace that service.
Does the Copies control create separate image files?
No. Copies per sheet repeats the portrait within one printable JPG or PNG. All requested copies must fit at the selected photo size and spacing. If they do not, use the offered spacing or sheet-size adjustment before downloading.
Should I use the same size for a printed photo and an online application?
No. Choose Country and Application type first. Printed-photo measurements do not define online upload requirements. US online renewal lets you crop within the official application; UK own-device photos should be uploaded without your own crop. Canada specifies a portrait 2:3 width-to-height ratio for its photographer-supplied online JPEG.
Does online mode modify my photo?
No. It checks the original file and keeps its bytes unchanged. It does not crop, resize, retouch, add DPI or create a print sheet. The official passport service decides whether the photograph is acceptable.
Make your own carefully checked result
Try a sample or use your own file, and review the result before sharing.