

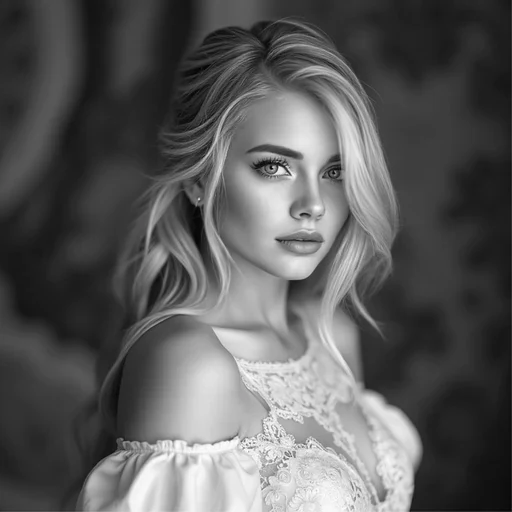


Upload a JPG or PNG, adjust the crop if needed, choose a color treatment, and generate a colorized PNG while keeping your original monochrome photo. Open Colorize Image.
Start with a clear monochrome image
Open Colorize Image and select Choose images, drag in a supported file, or use the sample. On a phone, open Settings to reach the same controls.
Frame the region to colorize and choose Natural colors, Vivid colors or Balanced colors.
The model estimates plausible colors; it does not recover a historical record of the original colors.
Review the generated treatment
Select Start and inspect skin, clothing, sky and small objects against the original.
A pleasing palette can still be factually wrong. Keep an untouched source when working with family or archive photographs.
The example in this guide
Color treatment: Natural colors
- Input
- 512 x 512 px
- Output
- 512 x 512 px
- Input file
- 97,122 bytes
- Downloaded file
- 336,151 bytes
Save the version you need
Download the colorized result, or use the available image export options for a single-image result.
Keep the downloaded copy before starting a new task. Refreshing an editor or download page returns to the main tool page; normal Back navigation can restore the current workflow.
Label a colorized historical image appropriately when sharing it. Generated color should not be presented as an original color photograph.
Common questions
What should I check in the downloaded result?
Label a colorized historical image appropriately when sharing it. Generated color should not be presented as an original color photograph.
How does Colorize Image work?
Upload a JPG or PNG, adjust the crop if needed, choose a color treatment, and generate a colorized PNG while keeping your original monochrome photo.
Can it recover the exact original colors?
No. Color is estimated from the image. Use known references if the historical color of an object matters.
Try this with your own file.
Try a sample or use your own file, and review the result before sharing.